
How to Plant a Mixed Border
Planting a brand new border from scratch is an exciting opportunity; a chance to make your own mark on the garden. But knowing where to start can feel a little daunting!
How to Plant a Mixed Border
Planting a brand new border from scratch is an exciting opportunity; a chance to make your own mark on the garden. But knowing where to start can feel a little daunting!
Immaculate borders can be found in glossy magazines and inspirational TV shows. They may seem a distant dream in your own garden - and they probably are! Those professional show gardens at the Chelsea Flower Show are wonderful fairy tales, created to inspire, but looking at their best for just a few days of the year.
Real gardens develop over time, and this is especially true with borders, where plants jostle for space from year to year. Here are some top tips on how to plant a border to make the most that blank canvas in your garden.
Step 1. Assess the site
Firstly assess your site. Consider the size and proportions of the border you are creating. The longer the border, the deeper it should be. Normally a border of 90cm -1.2m depth (3-4ft) is adequate, but in very long spaces then you may decide to double this depth. Bear in mind that you will still need to access the border for maintenance!
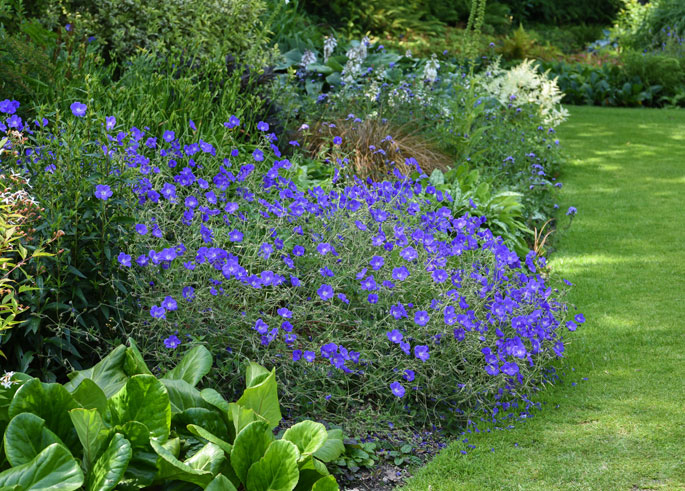
Take note of the orientation of your border and the type of soil you are working with. Is it hot and sunny, or cool and shady? Does the soil sit wet, or is it dry and sandy? This will help to narrow your plant choices in step 2!
Top tip: If you are creating a large border, plan for access points within the border to allow for maintenance.
Step 2. Select the plants
Without doubt this is the best bit, but also the most daunting!
It's tempting to buy plants based on their appearance, but it always pays to show some restraint. Only select plants that will enjoy growing in the conditions that you can provide. Choose from the three main groups below, picking just a handful of varieties but repeating them throughout the border for the best effect.
It's worth trying to select a range of plants with varying heights. You'll need some taller shrubs that can be positioned towards the back of the border, while lower growing perennials will sit nicely at the front. In between you can put mid height shrubs and perennials, including a few evergreens. This helps to give the border a nice structure and ensures that all of your plants are visible.
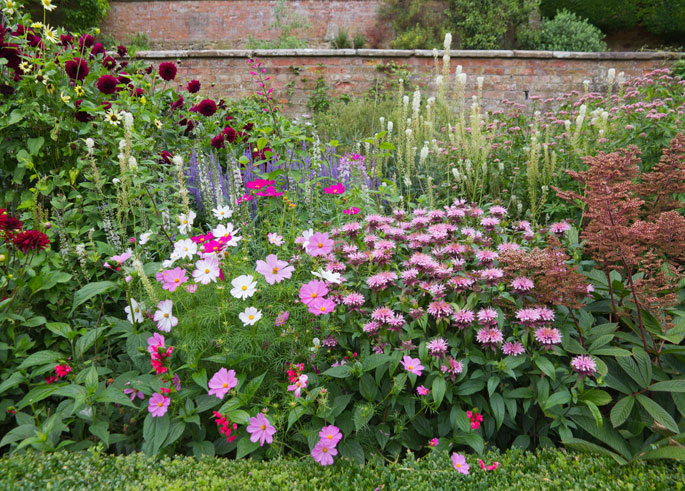
Top Tip: Take a walk around your neighbourhood to see what plants are thriving in other people's gardens. This will often give a good clue as to what plants will work for you.
Shrubs:
Unless you are planning an immaculate (but high maintenance) perennial border, its best to add some shrubs into the mix. Shrubs provide the backbone of your garden, offering permanent structure and seasonal colour. Evergreen border shrubs can be particularly useful for keeping planting schemes looking good even in the winter months.
Perennials:
Hardy perennial border plants provide fabulous splashes of colour, and most are at their best between spring and summer when we are out in the garden most often. With so many to choose from, it's worth limiting yourself to just a handful of varieties which can be repeated in groups throughout the border. Always plant hardy perennials in groups of 3-5 of the same variety to create a cohesive and professional look. Cramming in lots of different species and colours will only produce a scattered, uncoordinated feel.
Annuals:
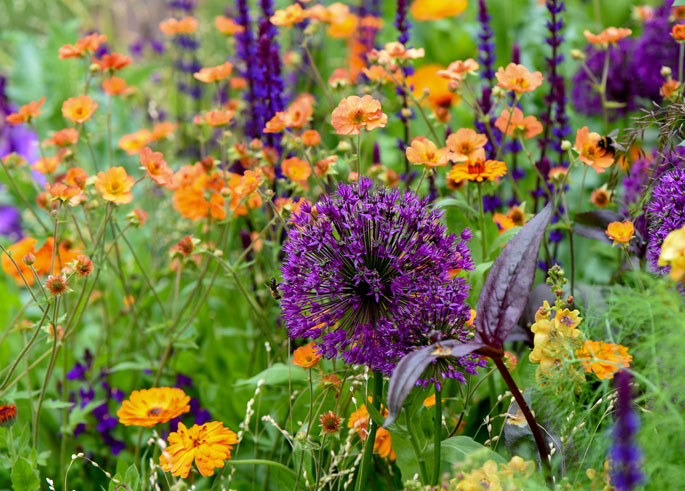
It can take a year or two for most new shrubs and perennials to get into their stride so you will see lots of gaps in the first few years. Fill these with quick-growing annuals to add colour and interest while the other plants are still establishing. If you allow species to self-seed then you will find natural clumps appearing in future years. Any unwanted seedlings can simply be removed.
Step 3. Prepare the soil
The next step is to prepare the garden border by digging over the soil and mixing in some well-rotted compost to get your plants off to a good start. This will improve the structure and drainage of the soil as well as feeding the perennial plants while they establish. It's well worth adding some slow release fertiliser at this stage too.
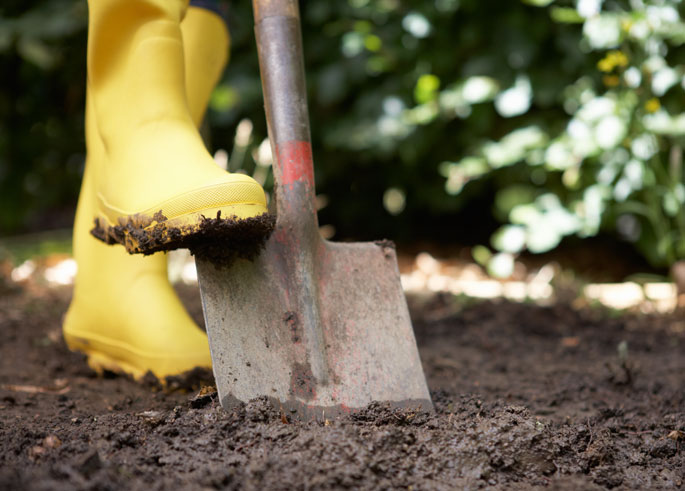
Top tip: Allow the soil to settle for a few days before planting.
Step 4. Make a plan
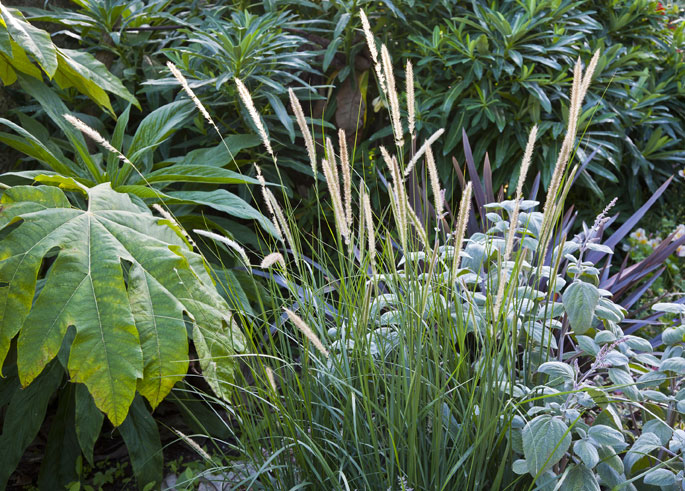
Before you start planting, always lay your plants out first. Try to think how big they will get in future years and give them enough space to grow. It's a good idea to position plants in groups of three of the same kind to give the appearance of a larger clump. It's not essential but it does look better than dotting them about randomly. If you have plenty of one type then repetition of these groups will add symmetry to you border design.
Top tip: Foliage shapes and colours can create just as much interest as flowers.
Step 5. Planting and aftercare
Once you're happy with their positions you can plant them out. The best time of year to plant a new border is in spring when the soil is moist and the weather is just beginning to warm up. If you miss your chance, then you may prefer to delay planting until autumn when similar conditions prevail. You can plant in summer but the soil will be drier, making it harder for the plants to establish.
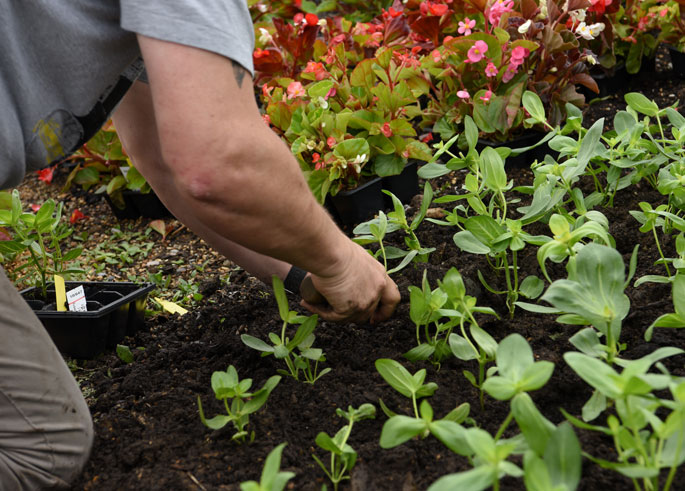
Dig your planting holes just a little larger than the rootball of each plant. Gently tease out the roots of each plant before you position them in the ground - this will help the roots to establish. Always position plants at the same level depth as they were when growing in the pot. Don't forget to water them in afterwards.
You'll need to keep your newly planted border well watered throughout summer, until the plant roots have grown and they are capable of finding their own water. You may choose to install a seeper hose or sprinkler system to help with this during the first year!
Top tip: For a really professional finish, add a mulch of bark chips across the whole border. This will help to keep downs the weeds and retain moisture in the soil.
Watch the video below to find out more about how to plant borders:

Written by: Sue Sanderson
Plants and gardens have always been a big part of my life. I can remember helping my Dad to prick out seedlings, even before I could see over the top of the potting bench. As an adult, I trained at Writtle College where I received my degree, BSc. (Hons) Horticulture. After working in a specialist plantsman's nursery, and later, as a consulting arboriculturalist, I joined Thompson & Morgan in 2008. Initially looking after the grounds and coordinating the plant trials, I now support the web team offering horticultural advice online.Sign Up For Exclusive Special Offers


© 2024 Thompson & Morgan. All rights reserved. A division of Branded Garden Products Limited.


