How to sow seeds successfully
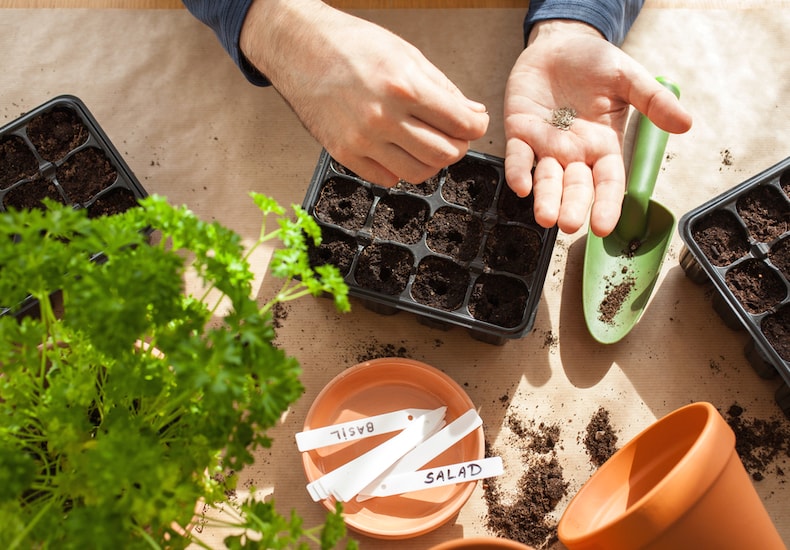
Follow Thompson & Morgan's extensive seed sowing guide
Image: Shutterstock
This comprehensive guide to sowing and germinating seeds has been compiled by the team of horticultural experts at T&M. Raising flowers, plants, fruit and veg from seed is a great way to save money and there’s a very special sense of satisfaction that comes from sowing your own!
Whether you want to grow your own fresh produce using our excellent value vegetable seeds or stock up on flower seeds to fill your garden with colour, it’s easy to research your options and order online. Take a look at our complete range of seeds to see how many exciting things you can grow.
Contents:
- What is a seed?
- Different types of seeds
- The best time to sow seeds
- How to sow seeds under cover
- How to direct sow seeds outside
- How to sow biennial and perennial seeds
- How to sow very small seeds
- Should you soak seeds before sowing?
- What does double dormancy mean?
- What does pre-chilling seeds involve?
- How to prick out seedlings
- How to harden off seedlings
- What is damping off disease and how can you prevent it?
- When and where to sow vegetable seeds checklist
What is a seed?
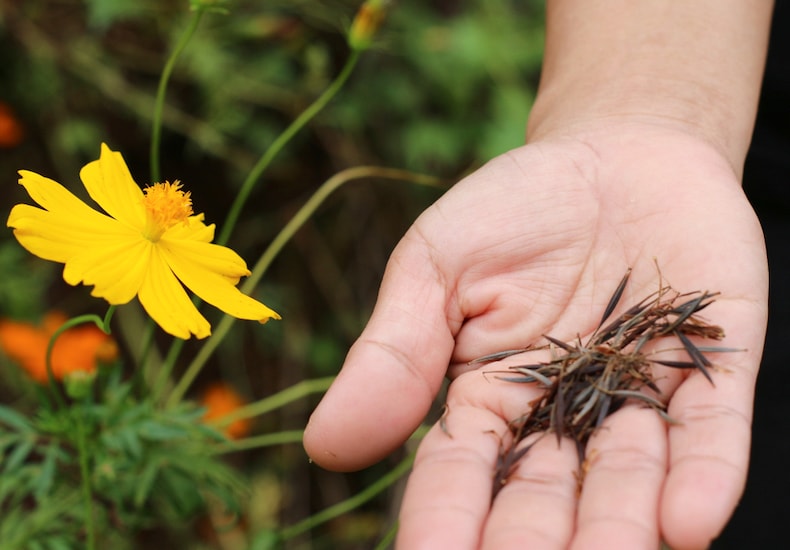
Cosmos seeds contain embryonic plants waiting to grow
Image: Shutterstock
Very simply, seeds are embryonic plants waiting to get out. They come complete with their own food supply to start them off, at least until they can put down roots and draw nutrients and water from the soil. All you have to do is provide the correct amount of warmth, light, air and moisture to turn your dormant seeds into living things.
Some seeds are quite unfussy about the conditions that trigger them into growth - many weeds fall into this category. Others are so sensitive they require a carefully controlled environment to germinate. Fortunately, the great majority of flower and vegetable seeds will emerge from their big sleep quite readily, if you follow a few easy guidelines.
Different types of seeds
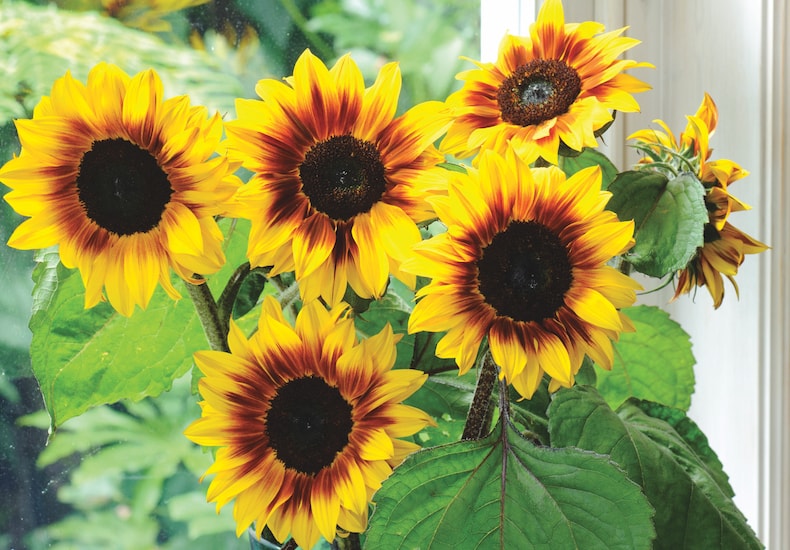
Sunflowers are hardy annuals
Image: Sunflower 'Helios Flame' F1 hybrid from Thompson & Morgan
All seeds are divided into categories, and to help you germinate them successfully, you’ll need to know which group yours belongs to. Each group is described by a set of initials which is a shorthand way of describing a plant's growing characteristics. Here's a guide to the most common categories:
- HA - Hardy Annual: These plants complete their life cycle in one year. Sown in early spring, they mature and bloom in summer, make seed if allowed to do so, then die away. Flowers in this group can be sown directly into their flowering positions in the garden.
- HHA - Half-hardy Annual: These plants also germinate, flower and die all in one year, but require a slightly longer period of growth. They should be sown in trays in early spring and given warmth and light on a sunny windowsill, heated greenhouse or propagator. Half-hardy means that the plants are frost-tender and must not be planted outdoors until all danger of frost has passed and they’ve been hardened off.
- HB - Hardy Biennial: These seeds are sown in spring or summer and the young plants are moved to their flowering position in autumn or early spring to flower about 12 months after sowing.
- HHP - Half-hardy Perennial: Sow these seeds in a propagator or heated greenhouse early in the year and the plants will flower in their first season. This applies to Gazania, Geraniums, Gerbera, Impatiens and Mimulus which are often treated as half-hardy annuals. Geraniums, however, can be lifted before the first frost and over-wintered. Dahlias and other plants that produce tuberous roots should be lifted in late autumn and stored.
- HP - Hardy Perennial: Beautiful border plants like delphiniums and lupins are in this group and they go on flowering year after year. Sowing can be done as for hardy biennials, but many gardeners prefer to sow the seed in trays indoors in March or April. The young plants are set out in their flowering positions when large enough to handle, and produce flowers in the autumn of the same year.
The best time to sow seeds
The actual date when you sow your seeds will vary according to where you live and the seasonal weather. In a cold, late season it’s better to delay sowing. In fact, during cold weather, later sowings often catch up or even overtake earlier sowings that have spent most of their energy just staying alive. Likewise, in cold northern areas you may have to sow several weeks later than in warmer parts of the country, for the same reason.
If you’re not sure when to sow your flower and veg seeds, check our monthly sowing and growing guides for helpful tips.
How to sow seeds under cover
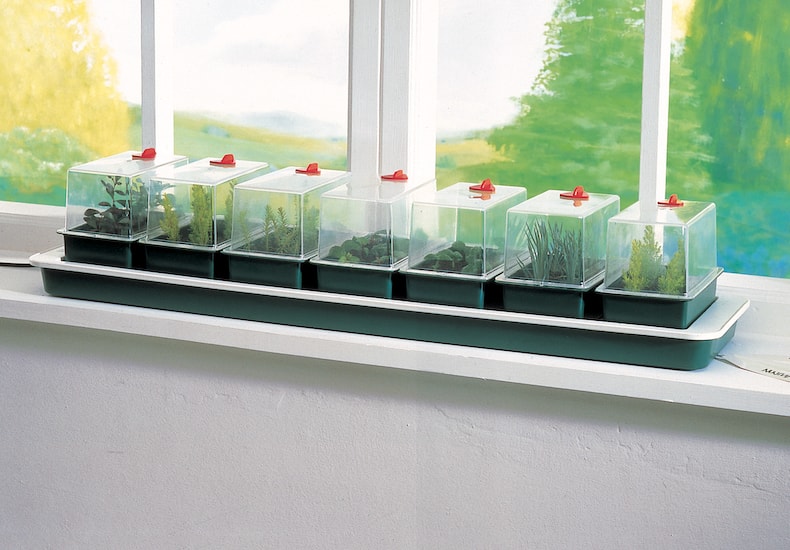
Propagators provide constant gentle heat to successfully germinate seeds
Image: Propagator - Electric Windowsill Propagator Super 7 from Thompson & Morgan
All seeds need water, oxygen, the correct amount of light and the right level of warmth to germinate. If your seeds need to be started indoors or under cover, it doesn't necessarily mean you have to invest in costly equipment or a heated greenhouse. Supplying enough warmth could be as simple as a temporary home in the airing cupboard or a sunny windowsill.
If you want to take your hobby to the next level, you can invest in an electrically heated propagator. These thermostatically controlled devices deliver the precise temperature for germination using no more power than a 100-watt light bulb.
Here are some tips to help you start seeds under cover:
- Seeds trays and pots should be thoroughly cleaned before use.
- Always use fresh, good quality compost.
- Beware of saved seeds. Some remain viable for a year or more after the packet seal has been broken, while others, like parsnips, don’t keep well.
- Most seeds germinate best if the tray is covered with a sheet of glass or plastic to retain the moisture in the compost.
- Some seeds require dark to germinate. Keep the tray in a light, warm position but cover it with a sheet of newspaper.
- A daytime temperature of 65-75F (18-24C) is suitable for most undercover seeds, with a drop to about 55F (12.5C) at night.
- As soon as the seedlings emerge, reduce the daytime temperature to about 65F (18C) and position them away from direct sunlight.
- Prick out and pot on your seedlings as required, moving them to individual pots of increasing sizes as they grow.
- You’ll need to gradually harden off these plants for about two weeks before they’re moved into their final outdoor positions.
How to direct sow seeds outside
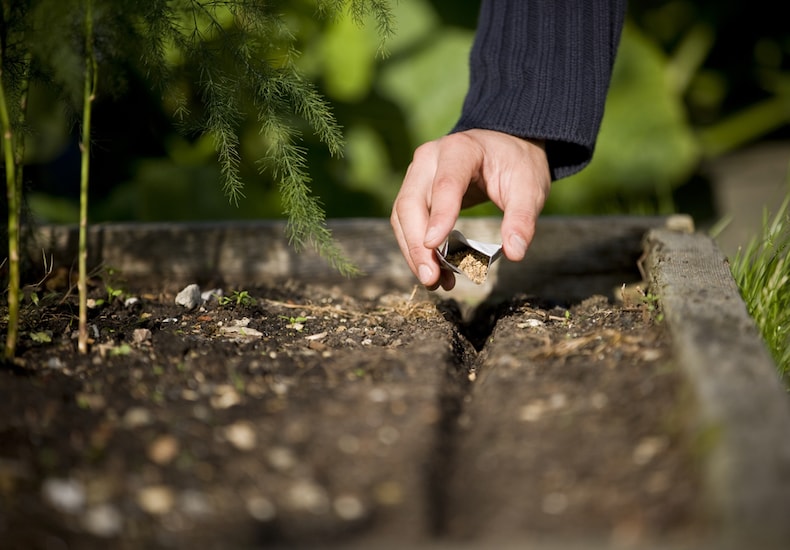
If using a seed bed, sow your seeds thinly and evenly into straight drills
Image: Shutterstock
Direct sowing your hardy annual seeds outside can save time, money and space, but for successful germination you’ll need to prepare the soil and provide the correct growing conditions.
Sowing into seed beds:
Some vegetables, hardy annuals and tree seeds should be direct-sown into a special ‘seed bed’ rather than into their final positions. Here are some seed bed tips:
- Position your seed bed in an open but sheltered position.
- The soil should be free of weeds, large stones and debris and be broken down as finely as possible.
- Sow your seeds into v-shaped drills made to the recommended sowing depth for each particular variety.
- Create taut lines with string to help you keep your drills straight. It makes weeding easier as the plants grow.
- Make sure your seeds are in good contact with the soil.
- In dry weather, moisten the drill thoroughly before sowing.
- After sowing the seeds, rake soil over the drill and firm it with the flat face of the rake.
- Mark the drill with a label including the seed variety and date sown.
Direct sowing into final positions:
Of course many hardy annual flower seeds can be sown directly where you want them to flower. Here are some direct sowing tips:
- Choose sunny areas with well-draining soil.
- The soil should be a minimum temperature of 50F (10C) when you sow. Annuals don't need a nutrient-rich soil, so a dressing of artificial fertiliser isn't necessary. All soils and plants benefit, however, from organic matter that has been dug into the top few inches of the soil early in the year.
- When sowing a range of annuals, sow the seed in patches rather than in regimental lines.
- It's helpful to draw a plan, placing each variety according to its height, spread and colour.
- Remove weeds and rake the soil to a fine tilth, then mark out the groups with a trickle of silver sand or flour.
- Sow the seed by sprinkling it as evenly as possible.
- Annuals need only a light covering of soil which can either be sieved over the seeds or gently raked over and then firmed with the flat face of the rake.
- When the seed has germinated, thin out any overcrowded seedlings as soon as possible. A further thinning out might be needed when the plants have developed several pairs of true leaves.
- For strong plants, seedlings require plenty of space - so thinning out is vital and weeds must be kept under control.
How to sow biennial and perennial seeds
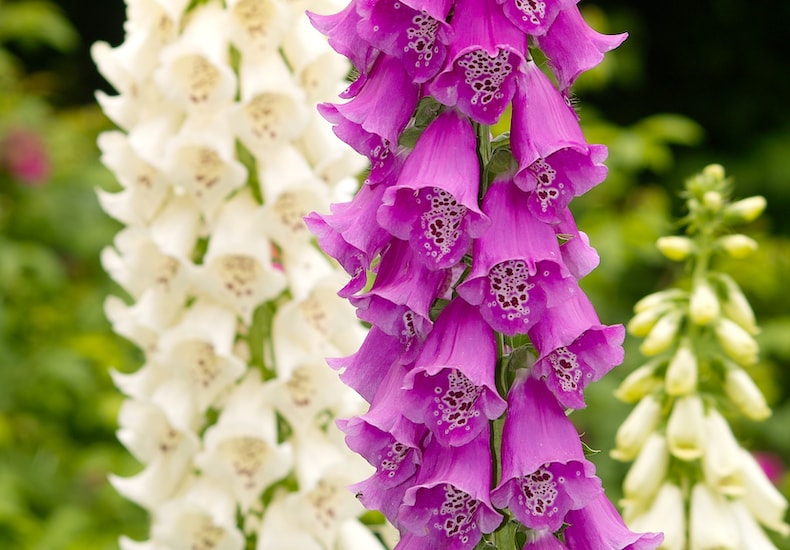
Foxgloves are hardy bienniels that really bring the early summer garden to life
Image: Foxglove 'Excelsior Hybrid Mixed' from Thompson & Morgan
Although most gardens enjoy a summer display of annual flowers, there should always be room for early-flowering biennials like wallflowers and forget-me-nots, as well as the long-lasting perennial flowers that form the heart of the herbaceous border.
Biennial seeds:
Biennials are usually sown in a nursery seed bed where they can grow undisturbed until ready for transplanting. If you sow these seeds in the spring, the resulting plants will be sturdy enough to be moved to their flowering positions in autumn just as the summer bedding plants are finishing.
Sow the seed in straight drills and keep the bed watered during dry spells and weeded at all times. An occasional feed with a liquid fertiliser can be given during the early stages of growth, but refrain from feeding for at least six weeks before transplanting to avoid sappy growth that could be damaged by hard frost.
Perennial seeds:
Some perennials can be treated as half-hardy annuals and sown indoors early in the year using a propagator, greenhouse or warm windowsill. They can be transplanted in late spring and should flower during the summer.
However, the majority of perennials including the stately lupins, hollyhocks and delphiniums, can be grown in the nursery bed in spring, transplanted to their permanent positions in the border in the autumn, and will flower the following season.
Remember that these plants will lose their leaves in late autumn so it’s a good idea to mark the planting position with a label or stake. And unlike annuals which complete their life cycle in one year, perennials will occupy the same site for years, so thorough preparation of the soil is important to ensure the plants enjoy a long and healthy life.
How to sow very small seeds
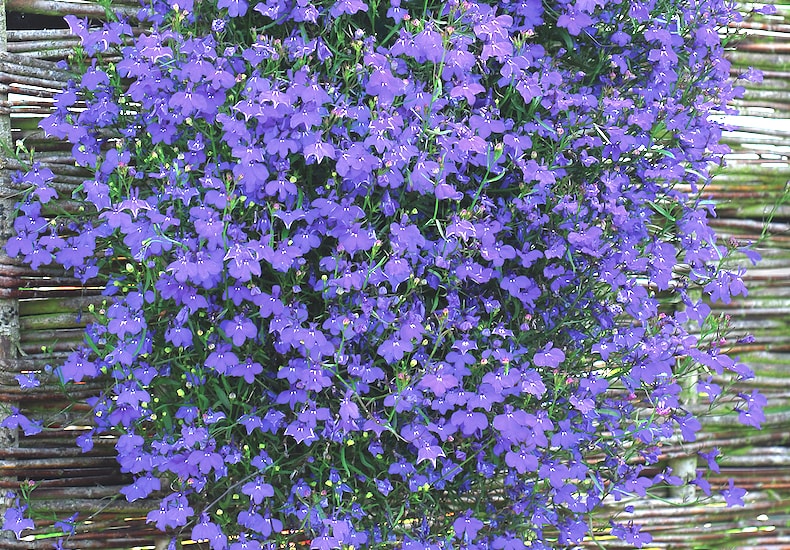
Lobelia seeds are tiny but produce a wonderfully bushy display
Image: Lobelia pendula 'Monsoon' from Thompson & Morgan
Tiny seeds such as begonia and calceolaria can be difficult to handle. Sometimes, the foil packet seems to contain nothing except a trace of dust-sized particles! Here are some tips to help you sow tiny seeds:
- Fill a small 10cm pot to overflowing with seed compost, then tamp it down firmly.
- Pour a heaped teaspoon of silver sand into the seed packet and shake to mix.
- Sow the seeds directly from the packet, tapping it slowly to release the sand-seed mixture evenly over the compost.
- Don’t cover the seeds with compost, simply press them into the surface with a wooden presser.
- Water the compost from underneath by standing the tray or pot in a bowl of tepid water.
- Cover with a piece of glass, cling film or seal inside a polythene bag to keep the compost moist and the atmosphere slightly humid.
- Remember that very fine seeds have a lower germination rate than normal-sized ones and the correct temperature for germination is very important.
Should you soak seeds before sowing?
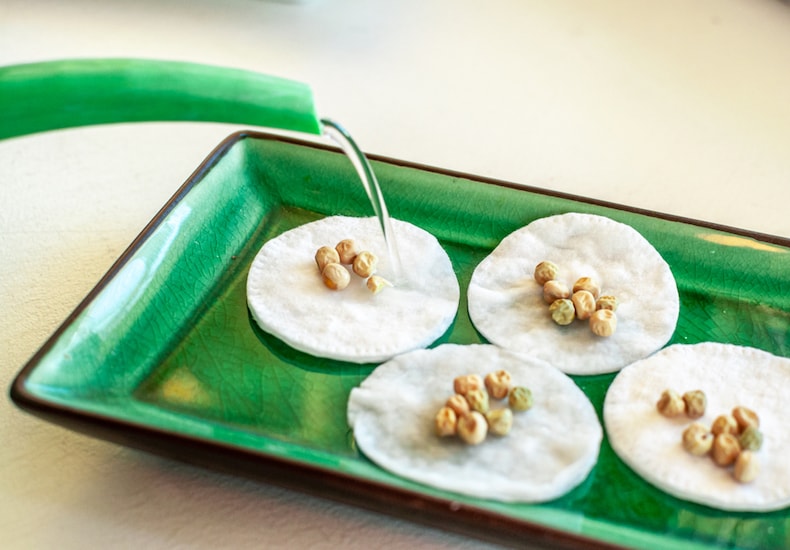
Pre-soaking seeds in a saucer
Image: Shutterstock
Some seeds benefit from pre-treatment before sowing, or from being sown in a particular way. This pre-treatment is rarely vital to success, but your seeds might take longer to germinate if you don’t do it.
Soaking is beneficial in two ways; it can soften a hard seed coat and also leach out any chemical inhibitors which might prevent germination. Anything from 1-3 hours in water which starts off hand-hot, is usually sufficient. If soaking for longer, the water should be changed daily.
Some seeds swell up when they’re soaked. If any seeds in your soaked batch swell within 24 hours they should be planted immediately and the remainder pricked gently with a pin and returned to soak. As each seed swells, remove and sow before it has time to dry out.
What does double dormancy mean?
Some seeds have a combination of dormancies and each one has to be broken in the right sequence before germination can take place. For example some lilies, tree peonies and Daphne need a warm period during which the root develops, followed by a cold period to break dormancy of the shoots, before the seedling actually emerges. Other seeds need a cold period followed by a warm period and then another cold period before they will germinate. In all cases, the times and temperatures will be provided in the sowing instructions on the packet.
What does pre-chilling seeds involve?
On some seed packets you will find a reference to 'pre-chilling', or stratification. This is a pre-treatment which can speed up the germination of otherwise slow-to-germinate seeds. However, even after pre-chilling some seeds can stubbornly refuse to germinate until a year or more has passed, so never be too hasty in discarding them.
Pre-chilling was traditionally done by standing the pots outside in a cold frame during the winter. It’s often quicker to adopt the following technique:
- Sow the seed on moistened seed compost, seal the seed container inside a polythene bag and leave at 60-65F (15-18C) for 3 days.
- Move the tray to a refrigerator for the recommended period.
- The seeds must be moist whilst being pre-chilled, but it will harm them if they’re actually in water.
- During the period in the refrigerator, examine the seeds once a week and if any start to germinate, move them into the specified warm conditions.
- Recent tests show that much of the beneficial effects of pre-chilling are lost if the seed is not exposed to light immediately afterwards. We therefore recommend sowing the seeds very close to the surface of the soil and covering the container with a sheet of glass.
- An alternative method, especially with larger seeds, is to sow the seed outdoors in well-prepared ground, cover with a jam jar and press it down into the soil so that the seeds are enclosed and safe from predators, drying out etc.
How to prick out seedlings
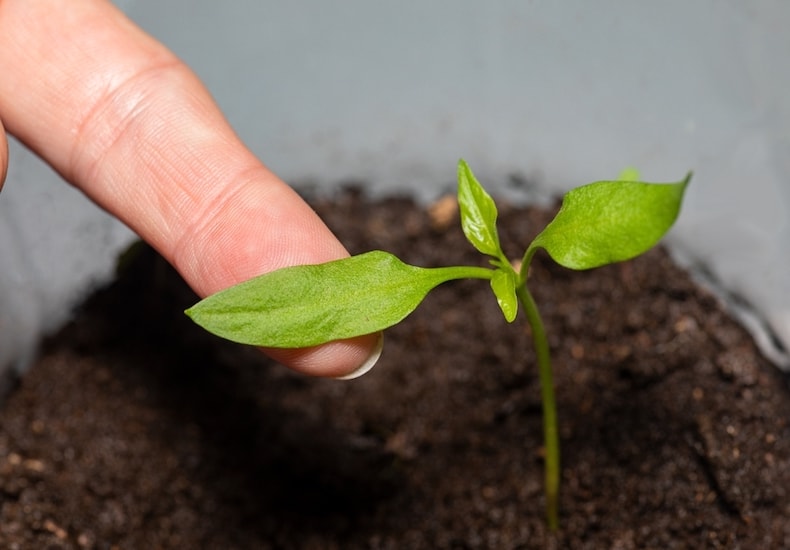
Handle seedlings by the leaves, rather than their delicate stems
Image: Shutterstock
When seeds germinate, the first leaves to appear are the cotyledons or seed leaves. These are usually a pair of oval, fleshy leaves that bear no resemblance to the mature leaves of the plant. The traditional advice is that seedlings shouldn’t be pricked out or transplanted until the first true set of leaves appear, but wait until you’re confident that they’re large enough to handle.
Removing the tiny seedlings from the sowing tray into containers of a good universal compost can be a delicate business. Here are some tips:
- Never handle seedlings by their stems, which bruise easily. Always use their seed leaves.
- Gently tease the seedlings out of their tray using a widger or a tapered piece of wood.
- Don’t crowd your transplanted seedlings. It’s important to give them planty of space so they will grow into sturdy young plants.
- Prepare the planting holes in the trays of well-moistened compost before you actually lift out the seedlings from the sowing container. Simply ease each seedling into position with the roots falling neatly into the hole, then gently firm the compost into contact with the baby plant while still holding it by the seed leaf.
- Proprietary composts contain enough plant food to give the pricked-out seedlings a good start in life, but you can, if you wish, start feeding with a dilute liquid fertiliser, such as Maxi-crop after a couple of weeks or so.
How to harden off seedlings
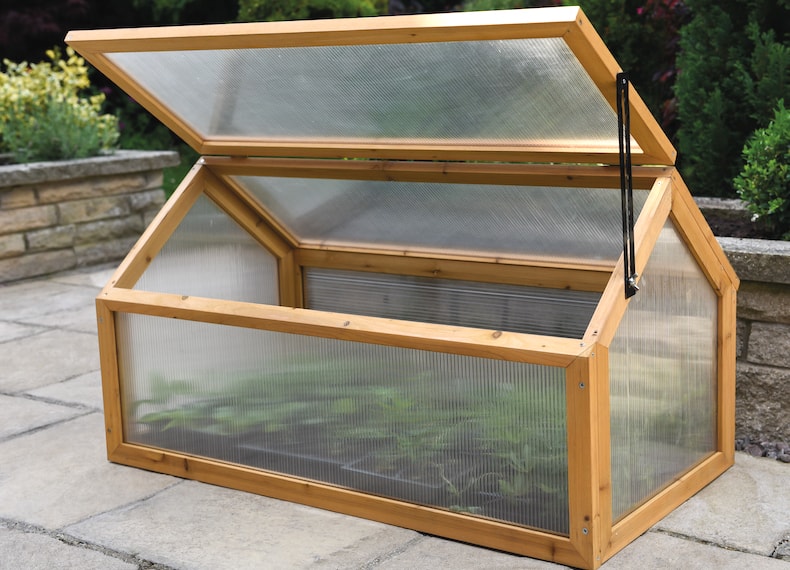
The easiest way to harden off seedlings is to use a cold frame
Image: Garden Grow Wooden Cold Frame from Thompson & Morgan
Once your seedlings have been pricked out, potted on and have become big enough for you to think about planting out, you’ll need to ‘harden them off’. This means gradually acclimatising them to the harsher conditions of the great outdoors. Allow a minimum of ten days to do this, preferably longer.
- Start by putting your plants in a sheltered position outdoors for two hours during daylight and lowering the temperature of the greenhouse or propagator for the rest of the day.
- Slowly increase the period that the plants are outside so that by the time the frosts are finished, the plants are fully conditioned to being outside.
- Don't forget that the plants will need watering but should be protected from heavy rain.
- When the young plants are transplanted to their flowering positions they may still need some protection against the damaging effects of strong, cold winds.
- A very useful aid to successful hardening off is a cold frame. During the day the cover can be opened or removed altogether, but put back into position overnight.
What is damping off disease and how can you prevent it?
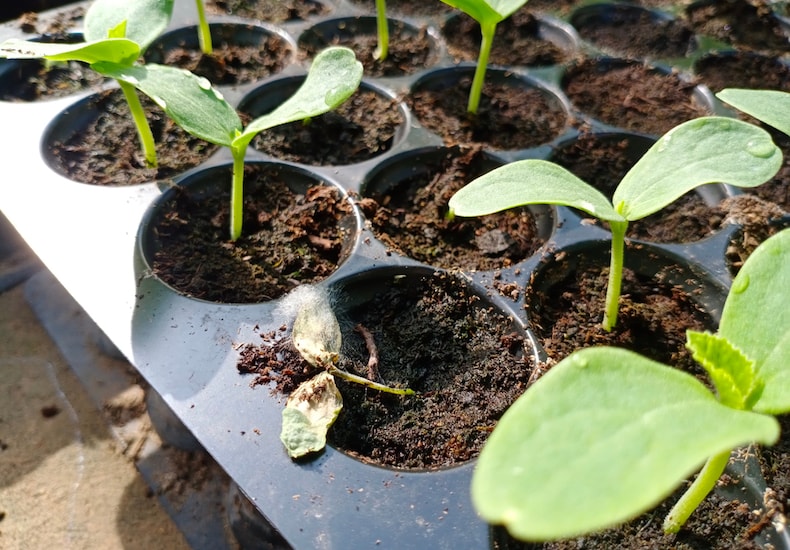
Damping off disease attacks seedlings, causing them to die
Image: Shutterstock
Damping off is one of the most common and troublesome types of garden diseases. It can affect all types of seedlings, but is most problematic on fast-growing flower seedlings (like antirrhinums, lobelias, nemesias, petunias, salvias and stocks) or vegetable seedlings like cabbages, cress, lettuces, tomatoes, peas and beans. Some slow-growing trees and shrubs are also prone to grey mould forms of damping off.
The symptoms of damping off are varied, but all result in the death of the seedling. Young seedlings can develop circular patches and collapse, the stems can shrivel, or the root system can simply rot away. Sometimes larger seedlings or young plants develop leaf spotting or discoloration, and some develop patches of grey mould on the stems or leaves.
The organisms that cause damping off are varied, but most are soil-borne. Prevention is the best line of defence so good hygiene is vital. Only use cleaned and disinfected pots and seed trays and make sure that greenhouse benches are sterile. Clean and disinfect water storage tanks regularly, but try to use tap water for susceptible plants. Also use a good quality, sterilised seed compost, which is moist but not over wet. Don't assume all bought compost is sterile, as most is not.
Try to avoid waterlogging and high humidity, as this makes seedlings more vulnerable to attack. Sow seed thinly and prick out as soon as possible, handling the seedlings by their leaves, not stems. Do not re-use any compost that has been affected.
Visit our comprehensive collection of pest and disease guides to troubleshoot other problems with your plants.
When and where to sow vegetable seeds checklist
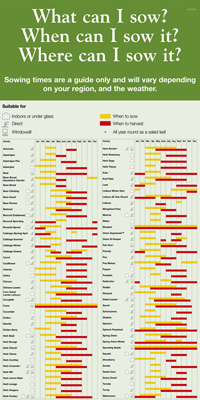
For an easy chart to help you see when and where to sow some of our most popular veg and herb seeds, download our quick guide now.
Alternatively, click on the image below to view it as a full size image online:
Good luck with your seed sowing journey. Share your successes with us over on social media. We love to see your photos!


