Seed sowing: where did I go wrong?
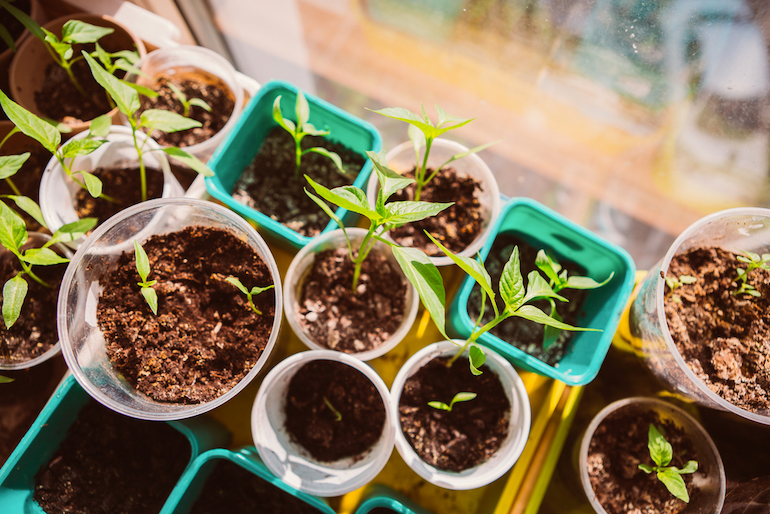 |
| Growing plants from seed is incredibly rewarding when all goes well Image: Shutterstock |
There’s nothing quite like the exciting promise contained in a handful of seeds, and nothing more disappointing than their failure to germinate. Even worse is watching your precious seedlings emerge, only to see them fail to thrive or wither and die.
Here are some of the most common ways that things go wrong, and how to avoid them:
Why didn't my seeds germinate?
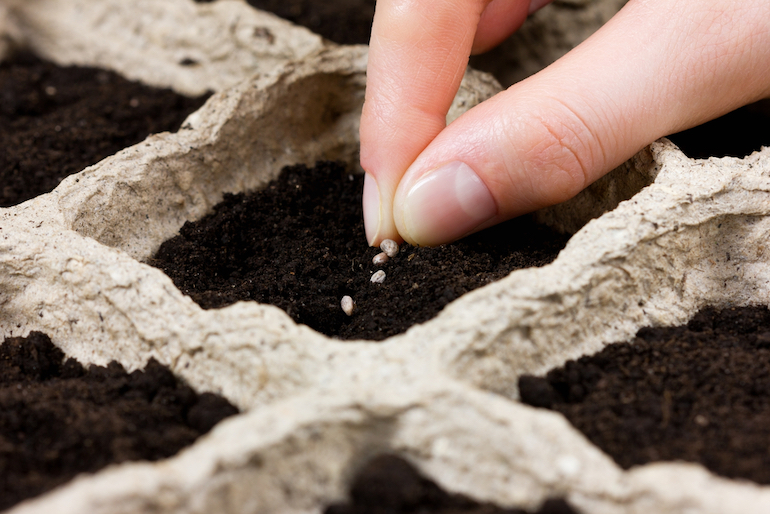 |
| These tiny seeds require just a thin dust of soil to cover as they need light to germinate Image: Shutterstock |
There are many reasons why seeds fail to germinate, and not all of them are your fault! In order to germinate successfully, seeds require several needs to be met. These include water, oxygen, temperature and correct levels of light. Once you know the things that can go wrong, these setbacks are easy to avoid.
The seed was old:
Check the ‘sow by’ date on the packet. Seed that’s beyond this date will often still germinate but the success rate is reduced. Some seeds, such as parsnip, lose their viability rapidly so it’s worth buying a new packet each year.
It was too hot or too cold:
Always check the recommended germination temperature on the seed packet. Extremes of heat or cold may prevent seeds from germinating so it’s well worth monitoring the soil temperature with a soil thermometer. Most species can be sown successfully indoors at temperatures between 13C - 21C – easily achieved in a heated propagator or on a bright windowsill. Once germinated, you can move your seed trays to a slightly cooler position.
Outdoors: Keep an eye on the weather and avoid sowing if the soil is cold and wet, as this will cause the seed to rot. Seed packets usually advise when to sow direct outside but this will vary between warm southern gardens and cold northern locations. In the north it may be necessary to sow a month later than the seed packet suggests if the soil remains cold. Help early sowings along by using cloches to warm the soil.
The soil was too wet or too dry:
Too dry, and your seeds won’t germinate. Too wet, and they’re liable to rot. Ensure that seeds are kept evenly moist by thoroughly wetting and draining the compost before you begin. After sowing you can cover the seed tray with a sheet of glass or clear plastic to retain moisture - the compost should remain damp for several days or more.
If the soil surface begins to dry out, simply stand the seed tray in water until the surface becomes moist - but be sure to let it drain again. Remove the glass or plastic as soon as the seeds begin to germinate to prevent the seedlings from rotting.
Outdoors: Wet, poorly drained soils or dry, sandy soils can be difficult environments for seed germination. Both can be improved by adding plenty of organic matter such as well rotted manure or homemade compost. On wet soils this will improve drainage and air circulation, while on dry soils organic matter acts as a sponge, holding water in the soil for longer.
The seeds were sown at the wrong depth:
Some seeds need light to germinate, and some don’t. The amount of light that the seed receives is determined by how deeply it’s sown. Check the seed packet before you bury your seeds beneath the soil – if they need plenty of light to germinate they’ll only require a thin dusting of compost or vermiculite to get them underway.
If no instructions are provided, the size of the seed gives a good indicator of how deep to sow it. Very small seeds such as begonia and lettuce only need a light covering of sieved compost or vermiculite. Larger seeds like sunflowers and beans need to be sown several centimetres beneath the surface. As a general rule of thumb, most seeds should be planted at a depth of 3 to 4 times their own width.
The seed needed special treatment:
Did the seed packet mention pre-chilling, chipping, scarifying or soaking? Some treatments may sound a bit strange but they’re essential to help the seed germinate. You can find a full description of different techniques in our specialised sowing information article.
The seeds were eaten:
Outdoor sowings of beans, peas, sunflowers and other large seeds are often at risk from attack from the moment they’re sown. Mice and birds love to dig them up for an easy snack. Protect your seeds with cloches, chicken wire or netting to give them time to germinate safely. If you use netting, secure it carefully to avoid entangling birds.
For a quick recap on how to sow seeds correctly, read our seed sowing guide.
Why did my seedlings fail?
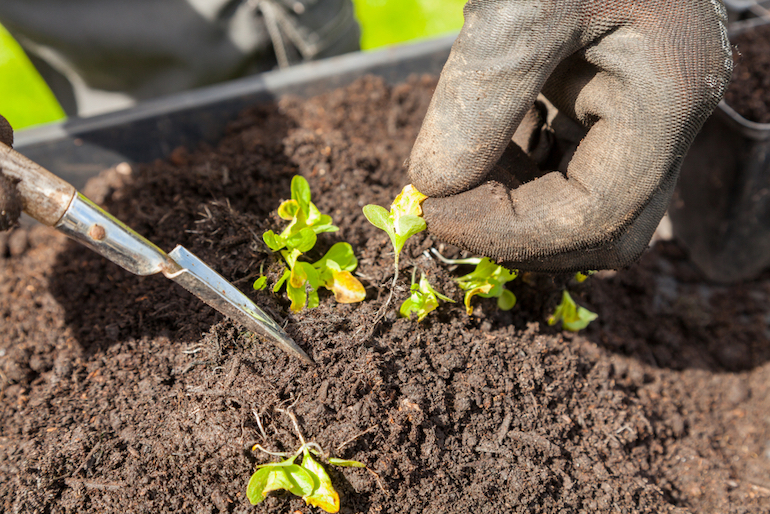 |
| This gardener carefully checks the size of the roots before pricking out his seedlings Image: Shutterstock |
Transferring delicate seedlings from seed trays to individual pots provides each seedling with the space, light and nutrients it needs to develop into a strong, healthy plant. But this can be a critical time in the plant’s development and things don’t always go smoothly.
Here are some of the most common mistakes to avoid:
The seedlings were pricked out too early:
As a rule of thumb, most seedlings can be pricked out when the first true adult leaves show (i.e. the second set of leaves after the initial seed leaves or cotyledons).
But before you begin, it’s always worth checking that your seedlings have sufficient root growth to cope with the transplant process. Simply lift one or two seedlings out of the tray with a dibber and take a look. If the roots are still very tiny then postpone pricking out for a few more days. It won’t do them any harm and the extra time will help them cope better with the transplant.
The seedlings were pricked out too late:
It’s easy to sow too many seeds and then find that you don’t have time to prick them out. Delays in pricking out, especially for fast growers like tomatoes, can lead to competition for light and nutrients. If left for too long, your seedlings will start to look sickly as the nutrients in the soil are depleted. This can cause a significant check in their growth even after pricking them out.
The seedlings were damaged during pricking out:
Your delicate seedlings can be easily bruised and damaged so you should never handle them by the root or stem. Use the cotyledons as ‘handles’. Once the true leaves have formed, these seed leaves are no longer required so it doesn’t matter if they get damaged.
The seedlings just died:
Did your seedlings mysteriously keel over, or rot away at the base of the stem? These symptoms are signs of damping off, caused by a number of fungal diseases that often occur if the soil is persistently wet. To reduce the risk of damping off take the following steps:
- Use fresh, commercially-produced compost instead a half-used bag from last season.
- Always wash and dry pots and seed trays before re-using them. Disinfect them with a little diluted Jeyes Fluid.
- Don't over water - let the compost dry out slightly between watering to keep fungal spread at bay.
- Water with clean tap water instead of using rain water.
- Keep seedlings well ventilated to ensure good air circulation.
The seedlings are tall and spindly:
Seedlings naturally grow towards the light, but when light levels are poor it can cause the growth to become tall and spindly. Warm temperatures will encourage leggy growth too. If you’re growing plants on your windowsill, this can be a real problem, resulting in thin spindly stems that flop over. Try to use the brightest windowsill possible (although it’s best to avoid direct strong sunlight as this may scorch your plants.)
The plants all died when they were moved outdoors:
Always check the weather before you move your plants outside. Cold temperatures, scorching heat, wind, and heavy rain can all damage or even kill your young plants. Even if the weather conditions are favourable, plants that have been grown indoors need to be hardened off before you can plant them outside. This allows them to acclimatise to the temperature, air movement and weather conditions before you plant them out. Place them outdoors in a sheltered position during the daytime and bring them back in at night. After 7 to 10 days, they should be able to cope with the big outdoors!
To properly refresh your mind and get the process clear, read our comprehensive article on pricking out and hardening off.
There’s nothing quite as satisfying as raising a plant entirely from seed. We hope we’ve given you lots of ideas to try if your seeds are failing to produce results. Good luck!
Written by: Sue Sanderson
 Plants and gardens have always been a big part of my life. I can remember helping my Dad to prick out seedlings, even before I could see over the top of the potting bench. As an adult, I trained at Writtle College where I received my degree, BSc. (Hons) Horticulture. After working in a specialist plantsman's nursery, and later, as a consulting arboriculturalist, I joined Thompson & Morgan in 2008. Initially looking after the grounds and coordinating the plant trials, I now support the web team offering horticultural advice online.
Sign Up For Exclusive Special Offers


© 2024 Thompson & Morgan. All rights reserved. A division of Branded Garden Products Limited.