
Installing the substituted drip irrigation system.
Due to exceptional demand, you may have been supplied with a substituted version of the irrigation kit. This new kit has all of the same benefits of the original kit and is even easier to set up. Follow our simple instructions to get the best from your new irrigation kit.
Installing a drip system is fairly straightforward and you won’t need any special tools or knowledge. But it’s worth familiarising yourself with the pieces before you start.
Here are the components of your system:
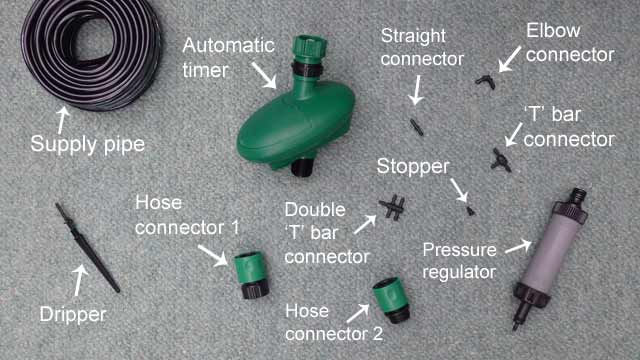
How to set up your drip irrigation system
Step 1:
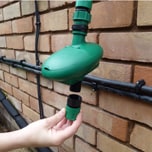
Attach the automatic timer to the tap and screw hose connector 1 to the bottom of the timer. In a normal situation hose connector 2 will be surplus to requirements, but is included for your convenience should it be needed. If necessary it may be screwed to the top of the automatic timer to make a connection with tap.
Step: 2
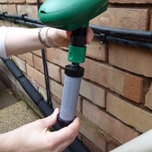
Click the top of the pressure regulator into the bottom of hose connector 1.
Step: 3
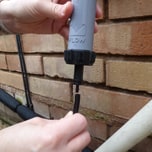
Now you can start to create your water pipe network. Start by simply pushing the end of the tubing onto the bottom of the pressure regulator. It’s a good idea to lay out the pipe where you want it to go before you start to cut it to the correct length.
Step 4:
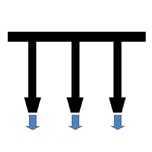
Don’t try to bend the tube as this will restrict the water flow. If you need to go round a corner then use scissors to cut the pipe and add an elbow connector. If you want to add another piece of supply tube at a 90 degree angle then use a T bar connector. You will find that the most effective system will have a long length of pipe with other shorter lengths of pipe branching from it to supply each dripper.
Step 5:
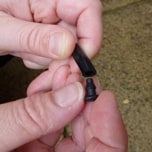
Most importantly, once you have created the main supply network make sure that you seal off the end of the supply pipe, to prevent water pouring out of the system. Use a stopper to do this.
Step 6:
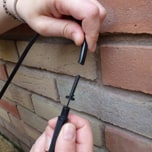
Next attach the drippers to the end of each branch of tubing. Simply press the top of the dripper into the tubing.
Step 7:
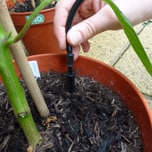
Push the stake end of each dripper into the compost close to the roots of your plant. The top of the dripper will naturally bend to allow water droplets to fall onto the compost.
Step 8:
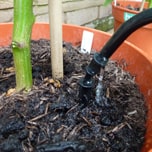
Turn on the tap and check that everything is working properly. If you are using a computer system then you will need to program this too. Once your system is set up you will need to try it out a few times in order to get an idea of how long to run it for. This will vary depending on the size of your containers, what type of plants you are growing and what the weather is like - but you will quickly get a feel for it. If you have containers of different sizes then you may need to feed more than one dripper into the larger containers to ensure that they receive enough water.
Quick Links:
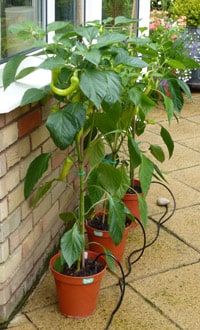
Follow our simple step by step guide to setting up your drip irrigation system.
Sign Up For Exclusive Special Offers


© 2024 Thompson & Morgan. All rights reserved. A division of Branded Garden Products Limited.


